

Creating a New Mailbox
To manage user conversations efficiently via email, you need to create a mailbox. Adding a mailbox allows your workspace to send and receive messages under a specific email address, like support@yourdomain.com.
Steps to Create a Mailbox
Navigate to Settings
Go to the Settings page in your dashboard.![]()
Access the Conversation Tab
In the sidebar or settings menu, click on the Conversation tab.Click “Create New Mailbox”
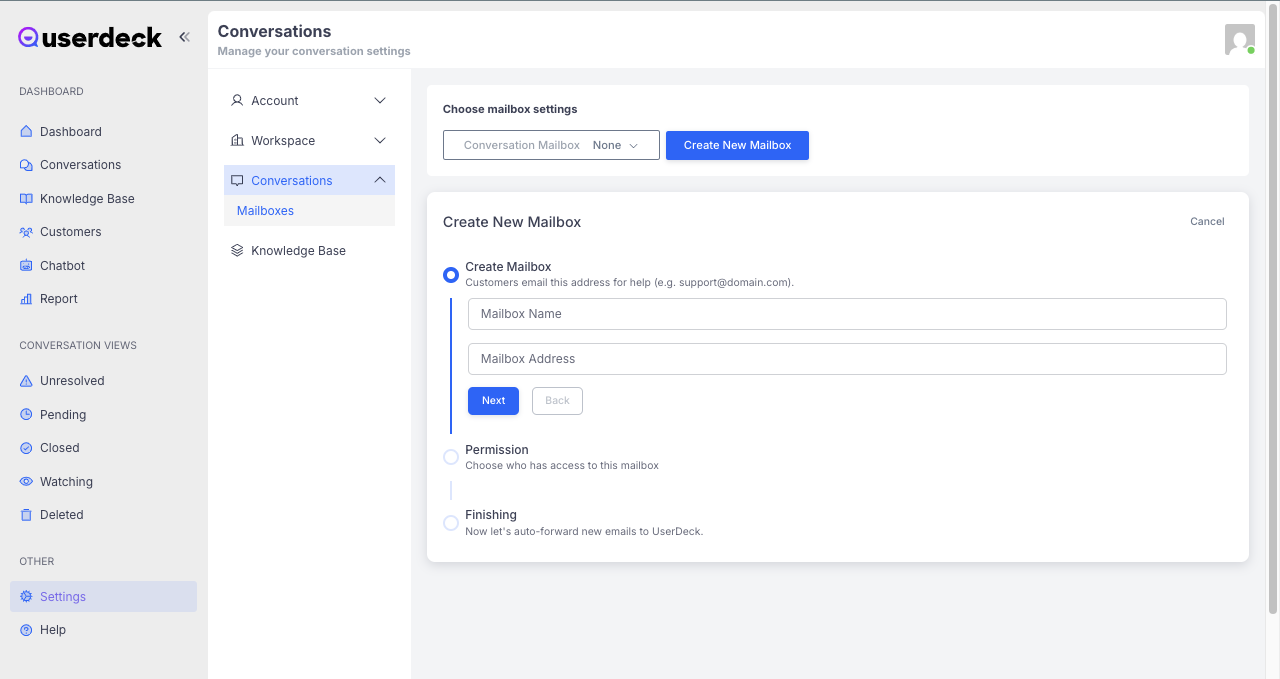
You’ll see an option to Create New Mailbox. Click it to begin the setup.![]()
Enter Mailbox Details
Provide a Name for the mailbox (e.g., Support, Sales).
Enter the Email Address you’d like to use for sending and receiving conversations.
Set Permissions
Choose which teammates have access to this mailbox and what actions they are allowed to perform (e.g., view-only, reply, assign).Finalize Setup
After filling in the required fields and setting permissions, click Save to finish.

Next Steps
Start routing incoming messages to this mailbox.
Add autoresponders or tags if needed.
Assign the mailbox to relevant team members for better collaboration.